How to Use and Upgrade FEKER Alice80 Mechanical Keyboard to Support VIA?
Hi, guys, if you want to upgrade your FEKER Alice80 Mechanical Keyboard or Custom DIY Kit to support VIA. And how to upgrade and use Alice 80 firmware and VIA firmware, please read this article.
First, you have to have a FEKER Alice80 Keyboard or Alice 80 DIY Kit. And download the corresponding software package.
| Product Page Download | Software Download Page | Direct Download - Mac | Direct Download - Win |
Download the compressed package file corresponding to your computer system, then unzip the compressed package, you will see 4 files. They are Firmware package files, JSON files, VIA files and a VIA instruction manual. First of all, it is recommended that you read the VIA instruction manual, which is this article. Then double-click to install the VIA file: via-1.3.1-mac or win.
Tip: If your computer prompts you to be at risk, please ignore it, VIA software is safe, you can rest assured that it will not threaten your computer or privacy.
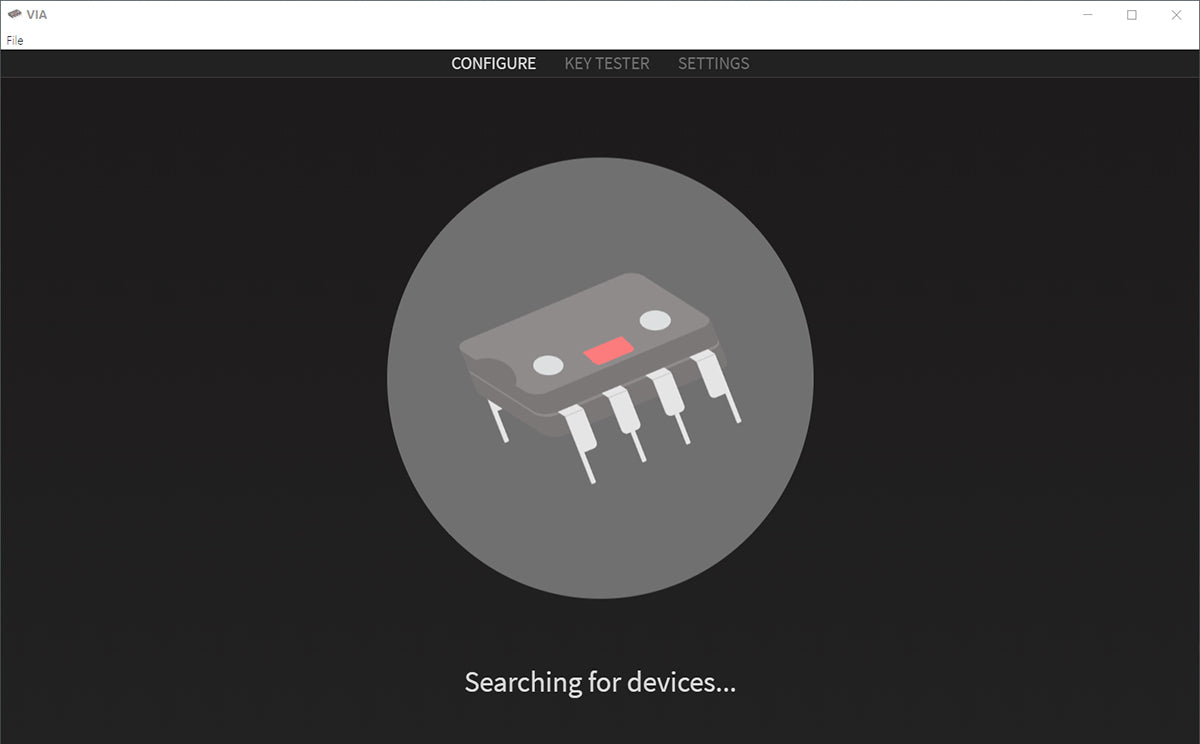
After you install VIA, the following screen will appear.

Then close VIA, double-click to upgrade the firmware FEKER-ALICE-80 firmware.exe, after the upgrade is complete, you can look this image.

When loading is complete close it and return to the VIA software, this interface will appear. Click file->import keymap in the upper right corner, select the .json file corresponding to your keyboard, and you will see the layout of your keyboard.
Note: Please change the mode of the keyboard to wired(FN+N), because it doesn't change automatically.

Basic Key Change
Simple key change is very simple, for example, I now change my Q key to A key, just follow the steps below:

Complete the key change.
Use Macros to Change Keys

The picture refers to the macro. A macro is actually a memory for a sequence of actions.
You just need to enter the macro you need in the box indicated below, save it, and then apply the macro to the keyboard.

The defined macros can be found in this location, and the method of applying macros is the same as the basic key change.

The definition of the macro is actually very simple. For example, I don't need f1, so I set it to ctrl+alt+Q. This shortcut key is my shortcut key to open software. Therefore, when you press f1, It is equivalent to pressing ctrl+alt+Q, and the software will open.
The macro syntax is prompted in the input area. The general format is, for example, Q is KC_Q,
What key do you need to enter directly in the input area, you will see the prompt, and then select it.
For example: ctrl+alt+Q macro command is {KC_LCTL,KC_LALT,KC_Q}
(Macro commands should be enclosed in curly brackets) (Remember to press save after writing the macro commands)
Layer
A layer is a key that can have two different functions. For example, there is generally an fn key on the keyboard, and fn + a key can turn off the keyboard light and adjust the lighting effect.

Now set fn to MO(1), that is, press fn to enter the first layer (the original default is layer 0), then the key value we defined in the first layer will work when fn is pressed.
In this layout, for example, space is backspace, and pressing fn+space is backspace.

Any Key
The any key is a custom key value, which can implement many functions, such as shortcut keys, long press and short press to achieve different key values, and so on.

Save + Load


