Cleaning and Maintaining Your Keycaps
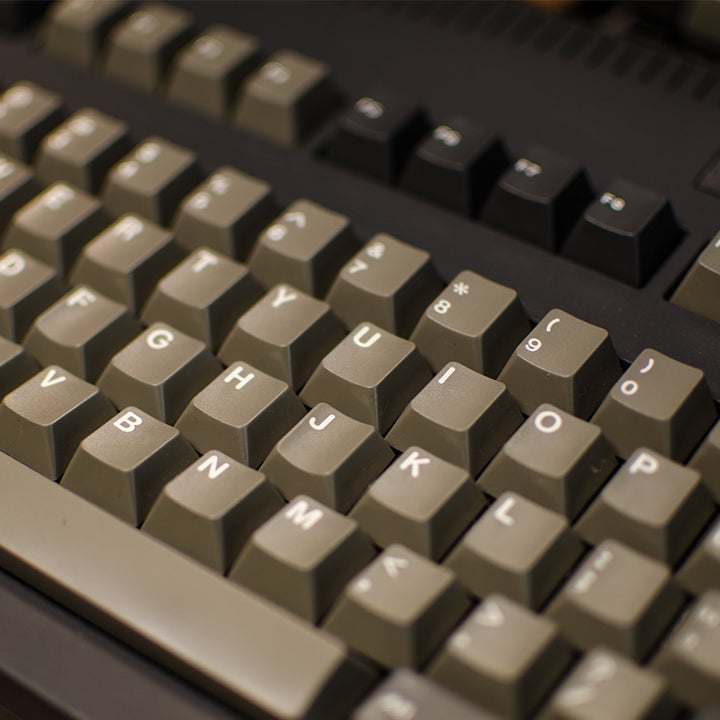
Keyboards are one of the must-have devices of the internet age, and whether you're a gamer, programmer, or someone who spends a lot of time typing, your Keyboard's Keycaps can accumulate dirt, grime, and oil over time. Regular cleaning and maintenance of keycaps is critical not only for workspace hygiene, but also to ensure the longevity and peak performance of your keyboard. In this article, we'll guide you through the steps to effectively clean and maintain your keycaps to ensure a pleasant typing experience.
Content
- Why Cleaning Keycaps Is Important
- What Cleaning Equipment is Needed
- Removing Keycaps Safely
- Cleaning Keycaps Properly
- Dealing with Stubborn Stains
- Drying and Reassembling Keycaps
- Regular Maintenance Tips
- Avoiding Common Mistakes
- How to Maintain a Mechanical Keyboard
- Cleaning FAQs:
- Conclusion
Why Cleaning Keycaps Is Important
Dirty keycaps not only look ugly, but can also affect typing comfort and overall keyboard performance. Cleaning the keycaps ensures a more hygienic workspace and prevents the buildup of harmful bacteria. In addition, clean and well-maintained keycaps increase the lifespan of the keyboard, allowing you to focus more on work or gaming, as well as a smoother, more enjoyable typing experience.
What Cleaning Equipment is Needed
Before you begin, gather the necessary supplies: key puller, sink/water container, warm water, mild soap, soft brush, and microfiber cloth. These tools will help you effectively remove dirt and grime from your keycaps without causing damage.
Removing Keycaps Safely
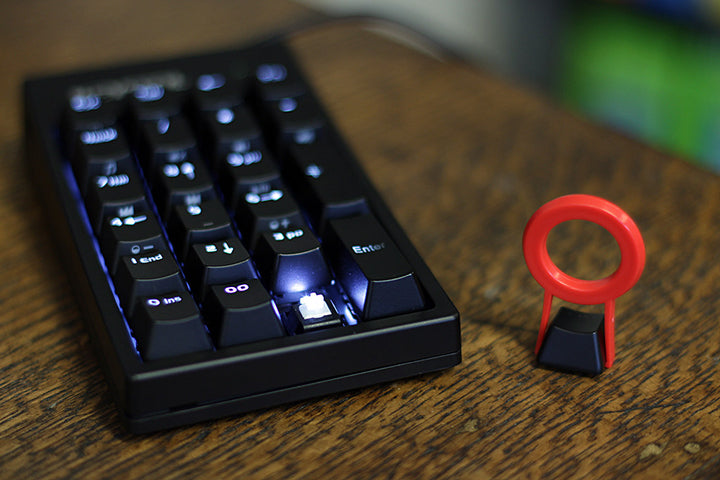
Use a keycap puller to gently remove the keycap. Be careful not to apply too much force as this may damage the switch underneath. Put the keycaps in a safe place, or throw them directly into your prepared cleaning container, such as a basin, sink or bowl, so that they will not be lost.
Friendly reminder: Before removing the keycaps, it is best to take a photo of your current keyboard, so that you can reinstall it according to your current layout after cleaning.
Cleaning Keycaps Properly
Fill a sink or container you wash with warm water and add a little mild soap. Place the keycaps in soapy water and let them soak for a few minutes. Use a soft brush or cloth to gently wipe off dirt and grease. The stains on the keycaps generally remain on the surface, but there are few stains on the internal cross structure. After the first wash, rinse the keycaps thoroughly under running water to remove soap residue, then allow them to air dry.
Dealing with Stubborn Stains
For the stubborn stains on the keycaps, you can take the normal method of cleaning the keycaps first, and you can increase the soaking time. If it is still not easy to clean, you can mix baking soda and water to make a paste, and then use a soft brush or towel Dab the paste onto the stained area. Let it sit for a few minutes, then rinse off. Although this will clean the keycap, it is not recommended to wash it multiple times, because it will destroy the oil film on the surface of the keycap, and may no longer have the luster of the original keycap.
Drying and Reassembling Keycaps
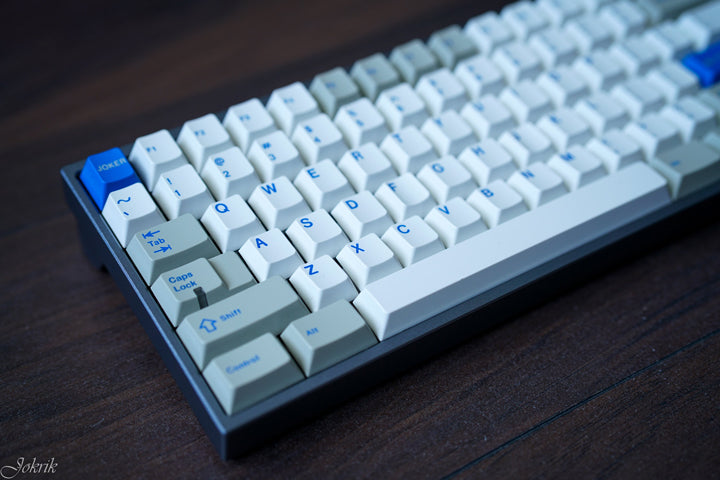
After cleaning, place the keycaps to air dry in a clean and dry place, such as your tabletop, or on top of a dry towel. Make sure they are completely dry before reassembling them on the keyboard. Improper drying can lead to water spots or mold growth and may affect the operation and lifespan of the switches or keyboard due to water stains left on the keycaps.
Regular Maintenance Tips
To keep the keycaps clean, get into the habit of regularly wiping the keycaps with a microfiber cloth, or using a small amount of hand sanitizer or rubbing alcohol. This prevents dirt and grease buildup. Also, consider using a keyboard cover to protect the keycaps from debris.
Note: Although alcohol or hand sanitizer can clean the keycaps very well, it is best to avoid using them. Because it can damage the plastic material of the keycaps over time
Avoiding Common Mistakes
When cleaning the keycaps, avoid submerging the entire keyboard in water, as this may damage the internal components of the keyboard, such as the keyboard's shaft, PCB board, internal battery, etc. Also, do not use harsh chemicals or abrasive materials that may cause discoloration or scratches.
How to Maintain a Mechanical Keyboard
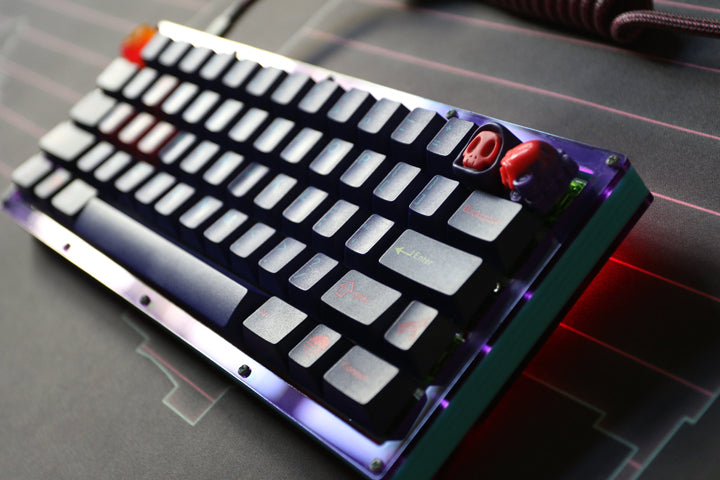
Maintaining a mechanical keyboard is crucial to ensure its longevity, performance, and overall appearance. Here's a guide on how to effectively maintain your mechanical keyboard:
1. We need to clean the keyboard regularly, such as keycaps, keyboard surfaces, etc. It is worth noting that please turn off or unplug the power supply of the keyboard before cleaning.
2. When you see dust and debris inside through the gap between the keycaps, you can first wipe the surface of the keyboard with a slightly damp lint-free cloth. If it cannot be removed effectively, it can be cleaned with compressed air.
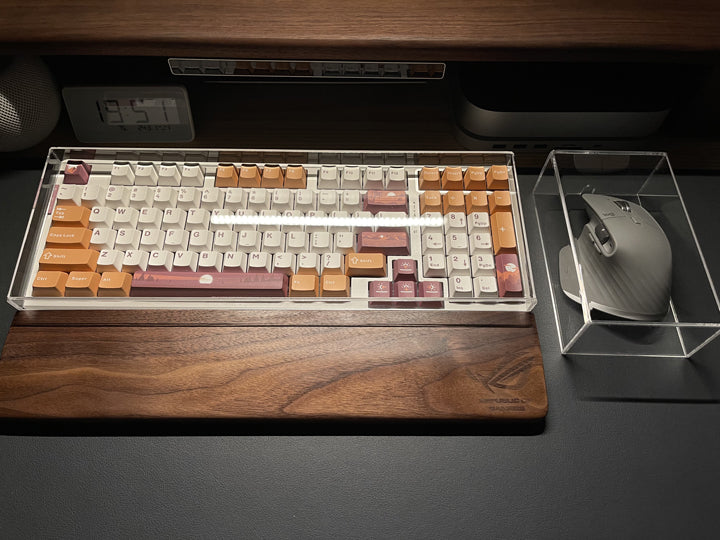
3. Keep the good habit of covering the keys with dust caps when not in use to prevent dust and dirt from depositing on the keys. Wash your hands before use to minimize the transfer of grease and dirt to the keycaps. Don't snack on the keyboard either.
Keycap Cleaning FAQs:
Q: How often should I clean my keycaps?
A: Regular cleaning is recommended, ideally every few weeks, to prevent the buildup of dirt and oils.
Q: Can I use alcohol to clean my keycaps?
A: It's best to avoid using alcohol, as it can damage the plastic material of the keycaps over time.
Q: Are there specific brushes for cleaning keycaps?
A: Yes, there are soft-bristle brushes designed specifically for cleaning delicate electronics like keycaps.
Q: Can I put my keycaps in the dishwasher for cleaning?
A: No, dishwashers use high water temperatures and harsh detergents that can damage keycaps and switches.
Q: What should I do if the keycap becomes sticky after cleaning?
A: If the keycaps feel sticky, make sure there are no soap residue left on the keycaps, or make sure they have been washed and completely dried.
Conclusion
Cleaning and maintaining keycaps is an important aspect of keyboard care, and your daily habits are often the most important factor in keeping your keyboard clean and increasing its lifespan. By following the steps outlined in this article, you can ensure a clean, hygienic, and visually appealing keyboard setup that provides a comfortable and enjoyable typing experience.
Article Directory
Why Cleaning Keycaps Is Important What Cleaning Equipment is Needed Removing Keycaps Safely Cleaning Keycaps Properly Dealing with Stubborn Stains Drying and Reassembling Keycaps Regular Maintenance Tips Avoiding Common Mistakes How to Maintain a Mechanical Keyboard Cleaning FAQs: Conclusion


